Stocking Stuffers for Tech Lovers
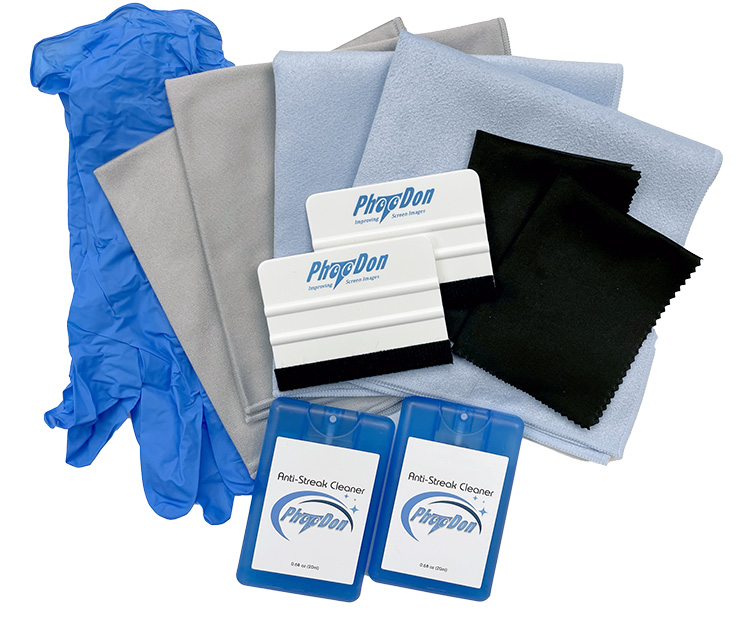
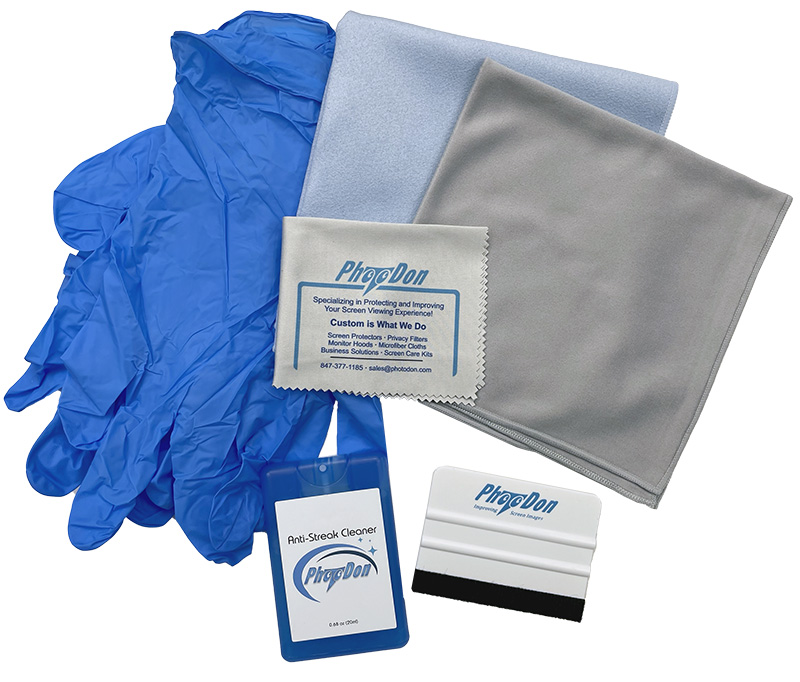
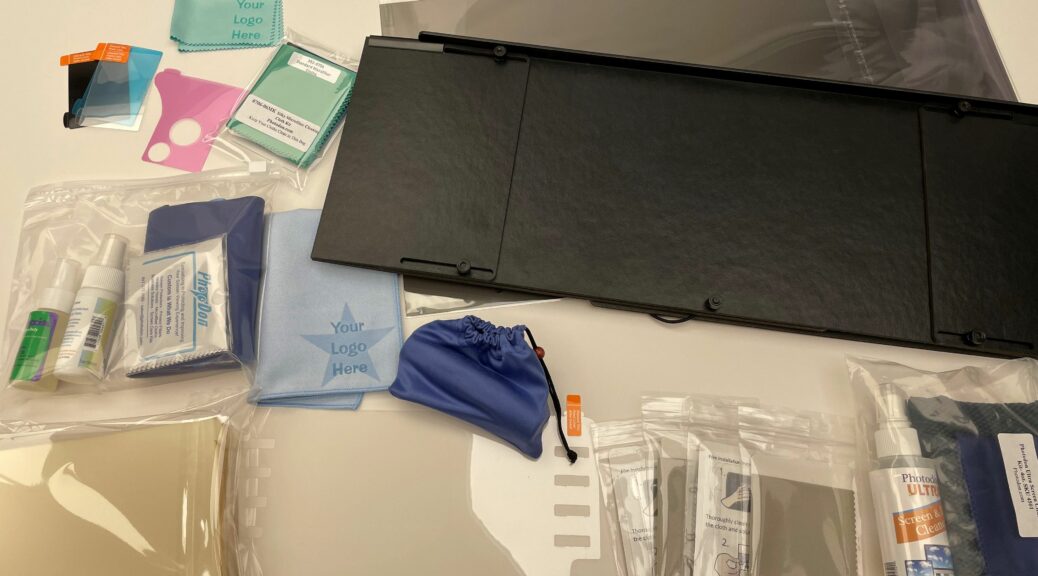
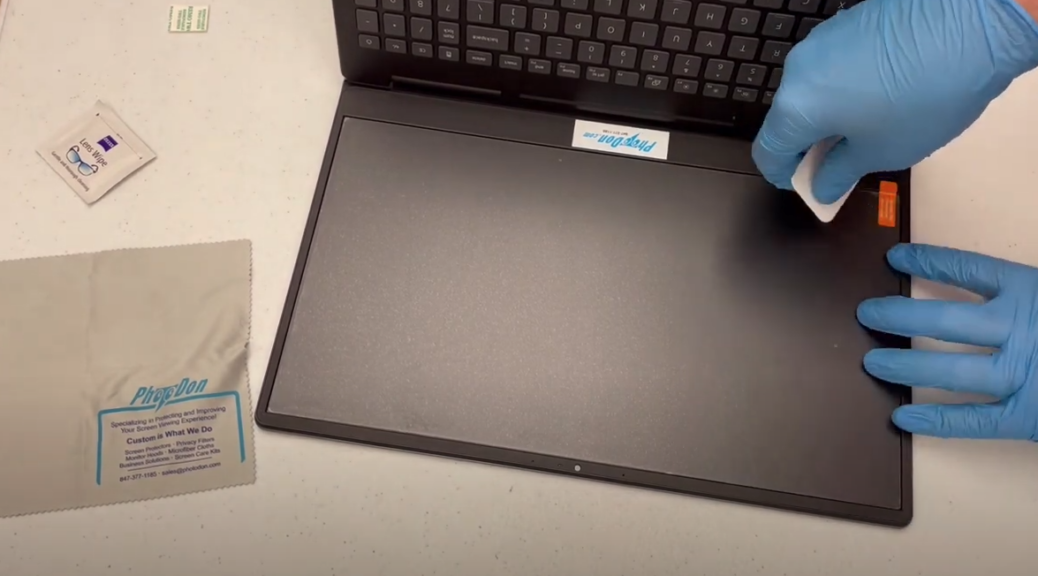
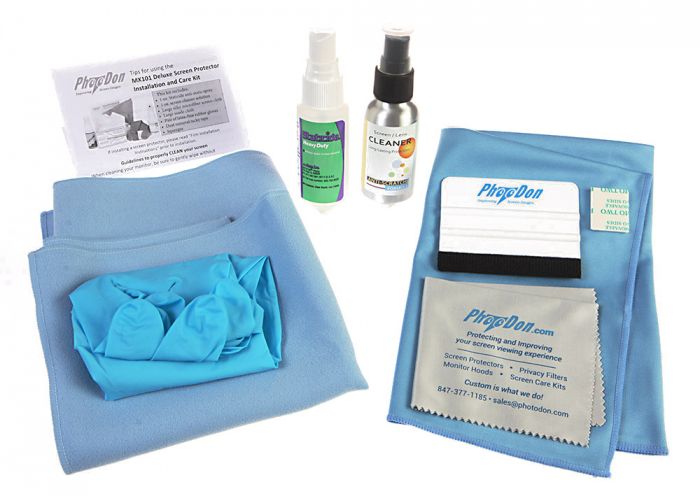
Looking for the perfect stocking stuffer or small gift? Our Mobile Protector Installation & Care Kit is both practical and thoughtful. Compact enough to fit in a glove box or purse, each kit includes everything you need to keep screens clean and clear every day-plus the tools for a smooth, hassle-free installation. It’s the gift that keeps on giving.
Looking to protect more than just mobile screens? Browse our full product range. >>